Understanding the Oxy Gas Welding Kit
An oxy gas welding kit is a cornerstone tool for numerous welding applications, offering an effective solution for both hobbyists and professionals. This kit typically consists of various components that work together to utilize the combustion of acetylene and oxygen. The importance of these kits extends beyond mere utility; they play a critical role in metalworking, fabrication, and repair industries.
Components of an Oxy Gas Welding Kit
A comprehensive oxy gas welding kit includes several essential components, each designed for a specific purpose:
- Oxygen and Acetylene Cylinders: The cylinders store oxygen and acetylene gases under high pressure. Proper handling is crucial to ensure safety and efficiency.
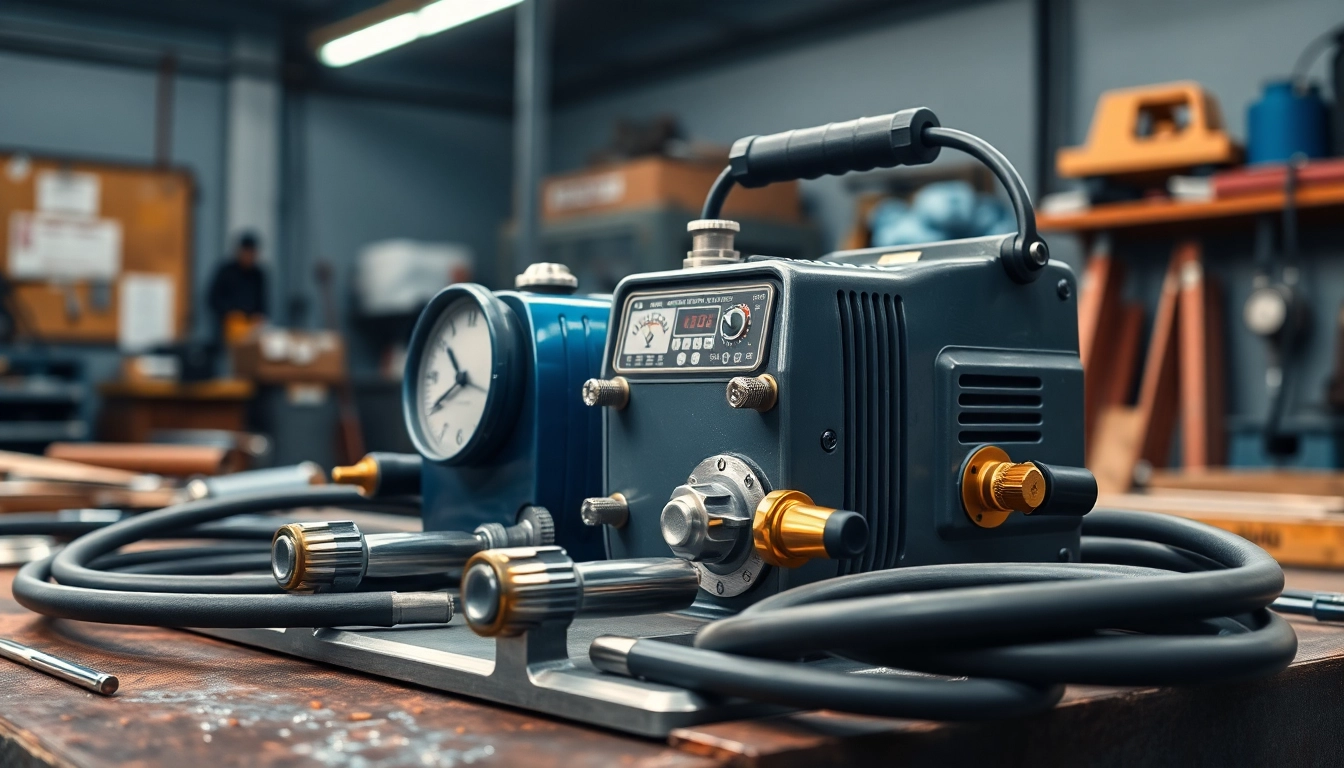
- Regulators: These control the flow and pressure of the gases from the cylinders. By adjusting the regulators, users can achieve the desired flame characteristics.
- Hoses: Flexible hoses transport the gases from the cylinders to the torch. They are typically color-coded (red for acetylene and green for oxygen) to prevent confusion.
- Torch: The torch mixes the gases in the correct ratio, igniting them to produce a high-temperature flame suitable for welding and cutting.
- Fittings and Tips: Various tips are attached to the torch to achieve different flame shapes and temperatures. Proper selection is vital for varying tasks.
- Safety Equipment: Items like goggles, gloves, and protective clothing are essential to protect against burns and other hazards.
How Oxy Gas Welding Works
The principle behind oxy gas welding is straightforward yet effective. Oxygen and acetylene are mixed in a specific proportion, usually around 1:1. The mixture is ignited at the torch, producing a flame whose temperature can exceed 3,200 degrees Celsius (5,792 degrees Fahrenheit). This high-temp flame melts the metal, allowing for a weld to form as the molten metal cools and solidifies.
Different flame characteristics can be achieved by altering the gas flow through the regulators. A neutral flame is often used for welding, while a carburizing flame is suitable for certain types of braze-welding. Mastery of these flames is crucial for achieving quality results.
Applications of Oxy Gas Welding
Oxy gas welding is versatile and finds application in various fields:
- Metal Fabrication: Used extensively in creating structures, machinery, and custom metalwork.
- Automotive Repairs: Employed for everything from bodywork to exhaust system repairs.
- Artistic Welding: Many artists utilize oxy gas welding to create intricate metal sculptures and designs.
- Maintenance and Repair: Ideal for fixing broken equipment, pipes, and tools.
Choosing the Right Oxy Gas Welding Kit
Selecting the appropriate oxy gas welding kit is crucial for achieving desired outcomes in your projects. Various factors influence the decision-making process, ensuring the chosen kit meets specific needs efficiently.
Factors to Consider When Purchasing
When shopping for an oxy gas welding kit, consider the following:
- Skill Level: Beginners may benefit from kits that come with straightforward instructions and safety features, while advanced users might seek kits with a broader range of capabilities.
- Size and Portability: Depending on whether the kit will be used in a fixed location or taken to multiple sites, size and portability can play a vital role in your choice.
- Compatibility: Ensure the kit components are compatible—especially the regulators and hoses—to maximize safety and efficiency.
- Budget: Kits are available in various price ranges. Balancing quality with cost is necessary, as cheaper kits may not offer the longevity or performance needed for professional tasks.
- Warranty and Support: Opt for brands that provide a good warranty and customer support to resolve any issues that might arise.
Top Brands and What They Offer
Several reputable manufacturers produce oxy gas welding kits. Here’s a brief overview of some top contenders in the market:
- Victor: Known for high-quality torches and complete kits that cater to both beginners and professionals.
- Harris: Offers a range of robust kits focusing on usability and durability; they are often favored by professionals.
- Unimig: Provides a variety of oxy-acetylene kits, often at competitive prices, making them accessible for hobbyists.
- Lincoln Electric: Renowned for their welding equipment, they offer semi-industrial solutions that balance performance with user-friendliness.
Price Ranges for Quality Kits
Oxy gas welding kits vary significantly in price based on components and brand reputation:
- Entry-Level Kits: Priced from approximately $100 to $200, suitable for beginners and light use.
- Mid-Range Kits: Range from $200 to $500, offering higher quality components suitable for routine tasks.
- Professional Kits: Often exceed $500, tailored for heavy use and high performance in demanding environments.
Setting Up Your Oxy Gas Welding Kit
Setting up your oxy gas welding kit correctly is crucial for ensuring efficiency and safety during use. A systematic approach will minimize the chances of accidents and equipment failure.
Safety Precautions and Best Practices
Before using your welding kit, adhere to these safety best practices:
- Always wear protective gear, including gloves, goggles, and appropriate clothing.
- Ensure the workspace is well-ventilated to avoid the accumulation of harmful gases.
- Regularly check hoses for leaks; a soapy water solution can help identify problems.
- Keep flammable materials away from your workspace to reduce fire hazards.
- Store gas cylinders upright and secure them to prevent tipping.
Essential Setup Steps
The following steps outline how to properly set up your oxy gas welding kit:
- Start by securely establishing the setting for your work area. Ensure it’s clean and free of flammable materials.
- Set up the oxygen and acetylene cylinders in an upright position, and ensure they are secured with straps or chains.
- Attach the regulators to the respective cylinders, turning them finger-tight. Be careful not to cross-thread.
- Connect the hoses to the regulators and ensure they are tight. Use the color coding (green for oxygen and red for acetylene) to avoid confusion.
- Attach the hose to the torch and tighten. Ensure that both ends are secure to prevent leaks.
- Purge the hoses by opening the gas valves slightly and allowing gas to flow for a moment. This helps remove any air from the hoses.
- Adjust the regulators to set the desired pressure for your welding tasks.
- Finally, test the torch and verify that you are getting a consistent flame before commencing with your project.
Common Setup Mistakes to Avoid
While setting up your kit, be mindful of these common mistakes that can lead to dangerous situations:
- Forgetting to check for gas leaks can lead to catastrophic accidents. Always perform a leak test.
- Improperly connecting hoses and regulators can cause gas mixtures that are dangerous or ineffective.
- Neglecting to secure gas cylinders may lead to tipping and spills.
Advanced Techniques with Your Oxy Gas Welding Kit
Once you’ve mastered the basics of oxy gas welding, you may wish to delve into advanced techniques that enhance your skills and broaden your capabilities.
Expert Tips for Effective Welding
Utilize these expert tips to elevate your oxy gas welding skills:
- Flame Adjustment: Master the art of adjusting your flame for different welding tasks, ensuring quality welds with minimal distortion.
- Heat Control: Keep control of heat applied to prevent warping or damaging thin metals.
- Welding Speed: Adjust your speed based on the material thickness and type; slower for thicker metals and faster for thinner ones.
- Practice: Continuous practice on scrap materials will develop your skills, refine your technique, and improve hand-eye coordination.
Specialized Applications and Techniques
Explore specialized techniques such as:
- Brazing: A process of joining metals using a filler material with a melting point below the base metals.
- Cutting: Mastering the torch to perform precision cutting on various metallic surfaces effortlessly.
- Welding Aluminum: This requires special considerations, including the use of different nozzles and techniques to cope with its properties.
Maintenance Tips for Longevity
To ensure your oxy gas welding kit remains in peak condition, follow these maintenance tips:
- Regularly inspect hoses and replace them if you observe any signs of wear or damage.
- Ensure that all connections and fittings are checked for tightness before each use.
- Store your kit in a dry, cool place to prevent degradation of rubber and plastic components.
Troubleshooting Common Issues
Like any equipment, oxy gas welding kits can encounter issues. Identifying and addressing these problems quickly is key to maintaining an efficient workflow.
Identifying Common Problems
Be aware of these common issues:
- Low Flame Pressure: Can be caused by blockages in hoses or improperly adjusted regulators.
- Pop noises: May indicate a faulty regulator or potential gas leaks.
- Inconsistent Flame: Often the result of improper mixing of gases, needing adjustment in flow rates.
Solutions and Repairs
When problems arise, consider these solutions:
- For low pressure, check hoses for kinks or blockages, and ensure proper regulator settings.
- Investigate noises by checking connections and looking for leaks, tightening fittings where necessary.
- For flame consistency issues, adjust gas flow accordingly; a neutral flame should produce a stable service.
When to Seek Professional Help
If persistent issues arise despite troubleshooting efforts, or if you encounter complications related to cylinder safety or equipment malfunctions, it is wise to consult a professional. Safety should always be your top priority, particularly with high-pressure gas systems.