Understanding ZIP WIRE KIT Components
Essential Elements of a ZIP WIRE KIT
The ZIP WIRE KIT is composed of several key components that ensure safety and functionality during operation. At its core, a standard ZIP WIRE KIT typically includes:
- Steel Cable: This robust line serves as the primary track for the zip liner. The thickness and material grade are crucial for supporting weight and withstanding wear.
- Zip Trolley: A trolley rides along the steel cable, allowing for smooth movement. It should have high-quality bearings for improved performance.
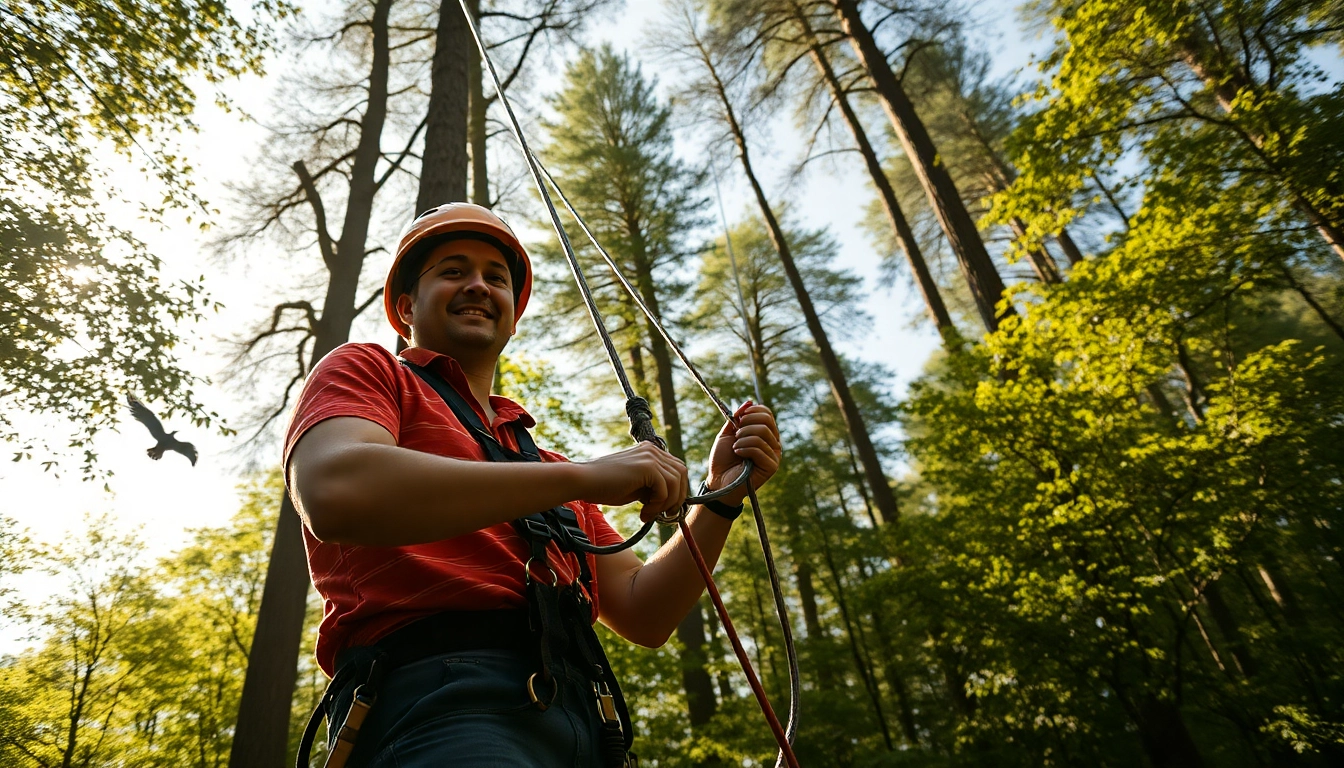
- Harness: The harness secures the user, distributing weight evenly and providing safety. Choosing a comfortable harness made from breathable material is essential.
- Climbing Carabiner: This is used to attach the harness to the trolley. It should be rated for high loads and possess locking mechanisms to prevent accidental release.
- Anchoring System: Mounting hardware or trees provide the necessary support for the zip wire. This may include pulleys and brackets designed to secure the cable in place.
Each of these components plays a pivotal role in ensuring a safe and enjoyable zip lining experience. Therefore, keen attention to quality and compatibility is essential when selecting a ZIP WIRE KIT for your outdoor adventures. For more detailed specifications on each component, refer to a reliable ZIP WIRE KIT resource.
Safety Features to Consider
Safety is paramount in zip lining. When selecting a ZIP WIRE KIT, it is essential to consider the following safety features:
- Emergency Brake Systems: Some ZIP WIRE KITs come with built-in braking systems that help slow down the rider smoothly without causing sudden stops, enhancing overall safety.
- Shock Absorbers: These components reduce the impact at the endpoint of the ride, decreasing the risk of injury when stopping.
- Safety Labels: Clear instructions and safety warnings are crucial. Each component should be labeled properly, imparting essential guidance for users.
- Load Testing Certification: Ensure the ZIP WIRE KIT has been tested for strength and safety by an accredited agency. This certification assures users of the product’s reliability.
Evaluating these features when selecting a ZIP WIRE KIT can significantly mitigate the risks involved and ensure a secure zip lining experience.
Benefits of High-Quality Materials
The materials used in a ZIP WIRE KIT significantly affect performance, durability, and safety. Here are a few advantages of utilizing high-quality materials:
- Increased Longevity: High-grade materials resist corrosion and wear, contributing to the KIT’s extended lifespan. This minimizes the need for frequent replacements.
- Better Performance: Enhanced materials ensure smoother rides and less friction. This improves user experience and can lead to longer zip lines.
- Weight Capacity: Superior materials typically support higher weight limits, accommodating a broader range of users and enhancing versatility.
- Greater Safety: High-quality materials are less likely to fail, meaning a lower risk for accidents and injuries during usage.
Investing in a ZIP WIRE KIT made from durable, high-quality materials is essential for anyone looking to maximize both safety and performance during their zip lining experiences.
How to Properly Install a ZIP WIRE KIT
Preparing Your Installation Site
Before you begin the installation process, careful planning and preparation of your site are crucial. Here are some steps to follow:
- Select a Suitable Location: Look for an area with adequate elevation changes, sturdy trees or anchors, and clear paths free from obstacles below the zip line.
- Assess the Surrounding Environment: Ensure there are no hazards such as power lines, unstable ground, or dense foliage that could interfere with the zip line.
- Check Local Regulations: Familiarize yourself with any local regulations or permits required for installing zip lines. Compliance is necessary for safety and legal reasons.
Step-by-Step Installation Guide
Once your site is prepared, follow these steps to install your ZIP WIRE KIT:
- Measure the Distance: Determine the desired length of your zip line and mark both the launch and landing points.
- Attach the Anchor Points: Securely set up the mounting hardware on the trees or poles. Ensure these anchors are rated to support the weight of the zip line and rider.
- Install the Steel Cable: Unroll the cable and attach it to the anchor points, ensuring it is taut. Use a level to check that the line is straight.
- Affix the Trolley: Slide the zip trolley onto the cable, making sure it moves freely without obstruction.
- Set Up the Landing Zone: Create a safe landing area at the end of the zip line, free from obstacles and with adequate space for braking.
- Test the Setup: Before allowing riders, conduct a weight test using sandbags to ensure the integrity of the installation.
Common Mistakes to Avoid
While installing a ZIP WIRE KIT, there are several common pitfalls to watch out for:
- Inadequate Planning: Failing to properly assess the site can lead to unsafe conditions during operation.
- Poor Anchor Selection: Using weak or improperly installed anchors can compromise safety. Always choose sturdy trees or posts that are healthy and solid.
- Ignoring Height and Angle: The height and angle of the zip line should promote a smooth descent. Miscalculations can lead to inefficient rides and safety issues.
By being aware of these common mistakes, you can install your ZIP WIRE KIT correctly and enjoy peace of mind as you zip along the line.
Choosing the Right ZIP WIRE KIT for Your Needs
Factors Influencing Your Decision
When it comes to selecting the ideal ZIP WIRE KIT, consider several factors that may influence your choice:
- Rider Weight: Different kits have different weight limits. Ensure the kit you choose can safely accommodate the heaviest user.
- Zip Line Length and Height: Determine how long and high you want your zip line to be, as this may dictate the type of kit necessary for your setup.
- Terrain: The intricacies of your landscape can dictate the size and strength of your ZIP WIRE KIT, especially if the ground is uneven.
- Usage Frequency: Kits designed for frequent commercial use will differ significantly from those intended for occasional personal use. Factor in quality and durability based on your intended frequency of use.
Comparing Different ZIP WIRE KIT Options
When browsing ZIP WIRE KIT options, it’s crucial to understand the differences among kits available on the market. Here are some aspects to consider while comparing:
- Components Quality: Analyze the materials used in the construction of different kits. Kits with high-quality components offer better performance and safety.
- Included Accessories: Some kits come with harnesses, helmets, and other accessories, while others may require separate purchases. Assess what you need and what each kit offers.
- Installation Requirements: Consider whether you’ll need professional installation or if it’s something you can set up yourself. Self-installation options may save money but require more effort.
Expert Recommendations by Application Type
Experts agree that choosing a ZIP WIRE KIT largely depends on your application type. Consider the following recommendations based on usage:
- Recreational Use: For family fun, consider kits that prioritize comfort and ease of use, ensuring everyone can enjoy their experience safely.
- Commercial Use: For installations in parks or adventure centers, opt for high-durability kits with robust safety features designed for everyday usage.
- Event-Specific Use: If you’re only using the zip line for particular events, invest in a portable ZIP WIRE KIT that can be set up and dismantled easily.
Understanding your needs and how you plan to use the ZIP WIRE KIT will significantly direct your purchasing decision.
Maintenance Tips for Your ZIP WIRE KIT
Routine Checks and Inspections
To ensure your ZIP WIRE KIT remains in optimal condition, conducting routine checks and inspections is vital. Follow these best practices:
- Inspect Hardware: Regularly check all hardware components, ensuring they are tight and free from rust. Pay particular attention to the anchoring system and trolley.
- Evaluate the Cable: Look for frays, rust, or signs of wear in the steel cable. Replace any damaged sections immediately to prevent failure.
- Test the Trolley Movement: Ensure the trolley glides easily along the cable without excessive resistance. Lubricate or replace worn bearings as needed.
Cleaning and Care Instructions
To extend the life of your ZIP WIRE KIT, cleaning and care should be part of your maintenance routine:
- Wipe Down Components: Use a damp cloth to clean the trolley, harness, and other components regularly, removing dirt and debris.
- Store Properly: When not in use, store the kit in a dry, cool place to prevent deterioration of materials, especially the harness that can be sensitive to moisture and UV exposure.
- Check for Built-Up Dirt: Ensure that there is no dirt buildup on the cable or trolley, which could interfere with performance.
Signs of Wear and When to Replace
Understanding when to replace components of your ZIP WIRE KIT is crucial for safety. Be on the lookout for:
- Visible Damage: Frayed cables, cracks in the trolley, or worn harnesses need immediate replacement.
- Changing Performance: If you notice increased friction or difficulty in movement, it may indicate that the components are wearing out.
- Excessive Rust or Corrosion: Rust on steel components can compromise structural integrity, necessitating replacements.
Establishing a regular maintenance and inspection schedule will ensure that your ZIP WIRE KIT remains safe and functional over time.
Enhancing Your Zip Lining Experience
Adding Elements to Boost Adventure
To elevate your zip lining experience, consider adding exciting features:
- Multiple Lines: Install several zip lines in various directions to allow for multi-person use, enhancing the thrill of racing friends and family.
- Different Heights: Incorporate varying heights into your zip line installation for added excitement and challenge.
- Obstacle Courses: Create a zip line course that includes obstacles, such as swinging bridges or climbing walls.
Creating Safe Landing Zones
A safe landing zone is crucial for ensuring a secure return from your zip line adventure. Consider the following tips:
- Soft Landing Area: Create a cushioned area using sand or grass to minimize impact.
- Clear Zones: Ensure the landing area is free of any objects or hazards that could interfere with the descent.
- Visual Markers: Use painted markers or signage to guide users towards a designated landing spot.
How to Train for Optimal Enjoyment
To maximize safety and fun, here are some training tips:
- Familiarize with Equipment: Before riding, ensure users understand how the harness and trolley work, including how to properly secure themselves.
- Practice Takeoff: Conduct practice runs without launching to build confidence in the takeoff procedure.
- Demonstrate Stopping Techniques: Train users on how to slow down and stop safely upon landing.
Proper training not only enhances the overall zip lining experience but also boosts confidence and enjoyment for all users.